

DIY Winter RV Skirting for Under $250
If you are looking to keep your RV warmer this winter without investing your life savings, then we think alike! My husband and I are full-time RVers and sometimes we end up in not-so-ideal weather for a couple of months. (Thanks travel nursing)!
When staying for long periods of time in cold weather, RV skirting is a must to prevent freezing pipes and heat loss throughout the bottom of the RV. Here you will learn an easy, DIY RV skirting that won't break the bank.
***This post may contain affiliate links and we may earn a small commission when you click on the links at no additional cost to you!

How expensive can it be to skirt an RV?
After looking into the cost of actual RV skirting, we were blown away by the prices. We found it to be anywhere from $800-$1500 for the product (depending on RV size). Add another $1000 to that for installation!
Yes, professional RV skirting is nice and fancy, but if you are looking for a simple and cheap way to keep your RV warm and propane costs down, then we have a solution!
What if an RV has the "arctic package"?
Take it from us, we spent a week at a state park in Colorado during SEPTEMBER and were slammed with freezing temps AND a snowstorm. Even though our RV has the arctic package (heated underbelly, tank heaters, extra insulation), we had pipes throughout the underbelly freeze and take 2 days to thaw out! Here’s the video on that experience!

Usually, when an RV is listed as having "all-weather", "four seasons" or "arctic package", it means the rig can withstand temperatures below 32F. If temperatures drop too low for too long, the cold-weather features will have a hard time keeping up.
You also have to take into consideration how much propane will be used to keep that underbelly and you warm! While camping in Colorado, with single-digit temperatures for several days, we had to refill our 30lb propane tanks about 3-4 times in one week!
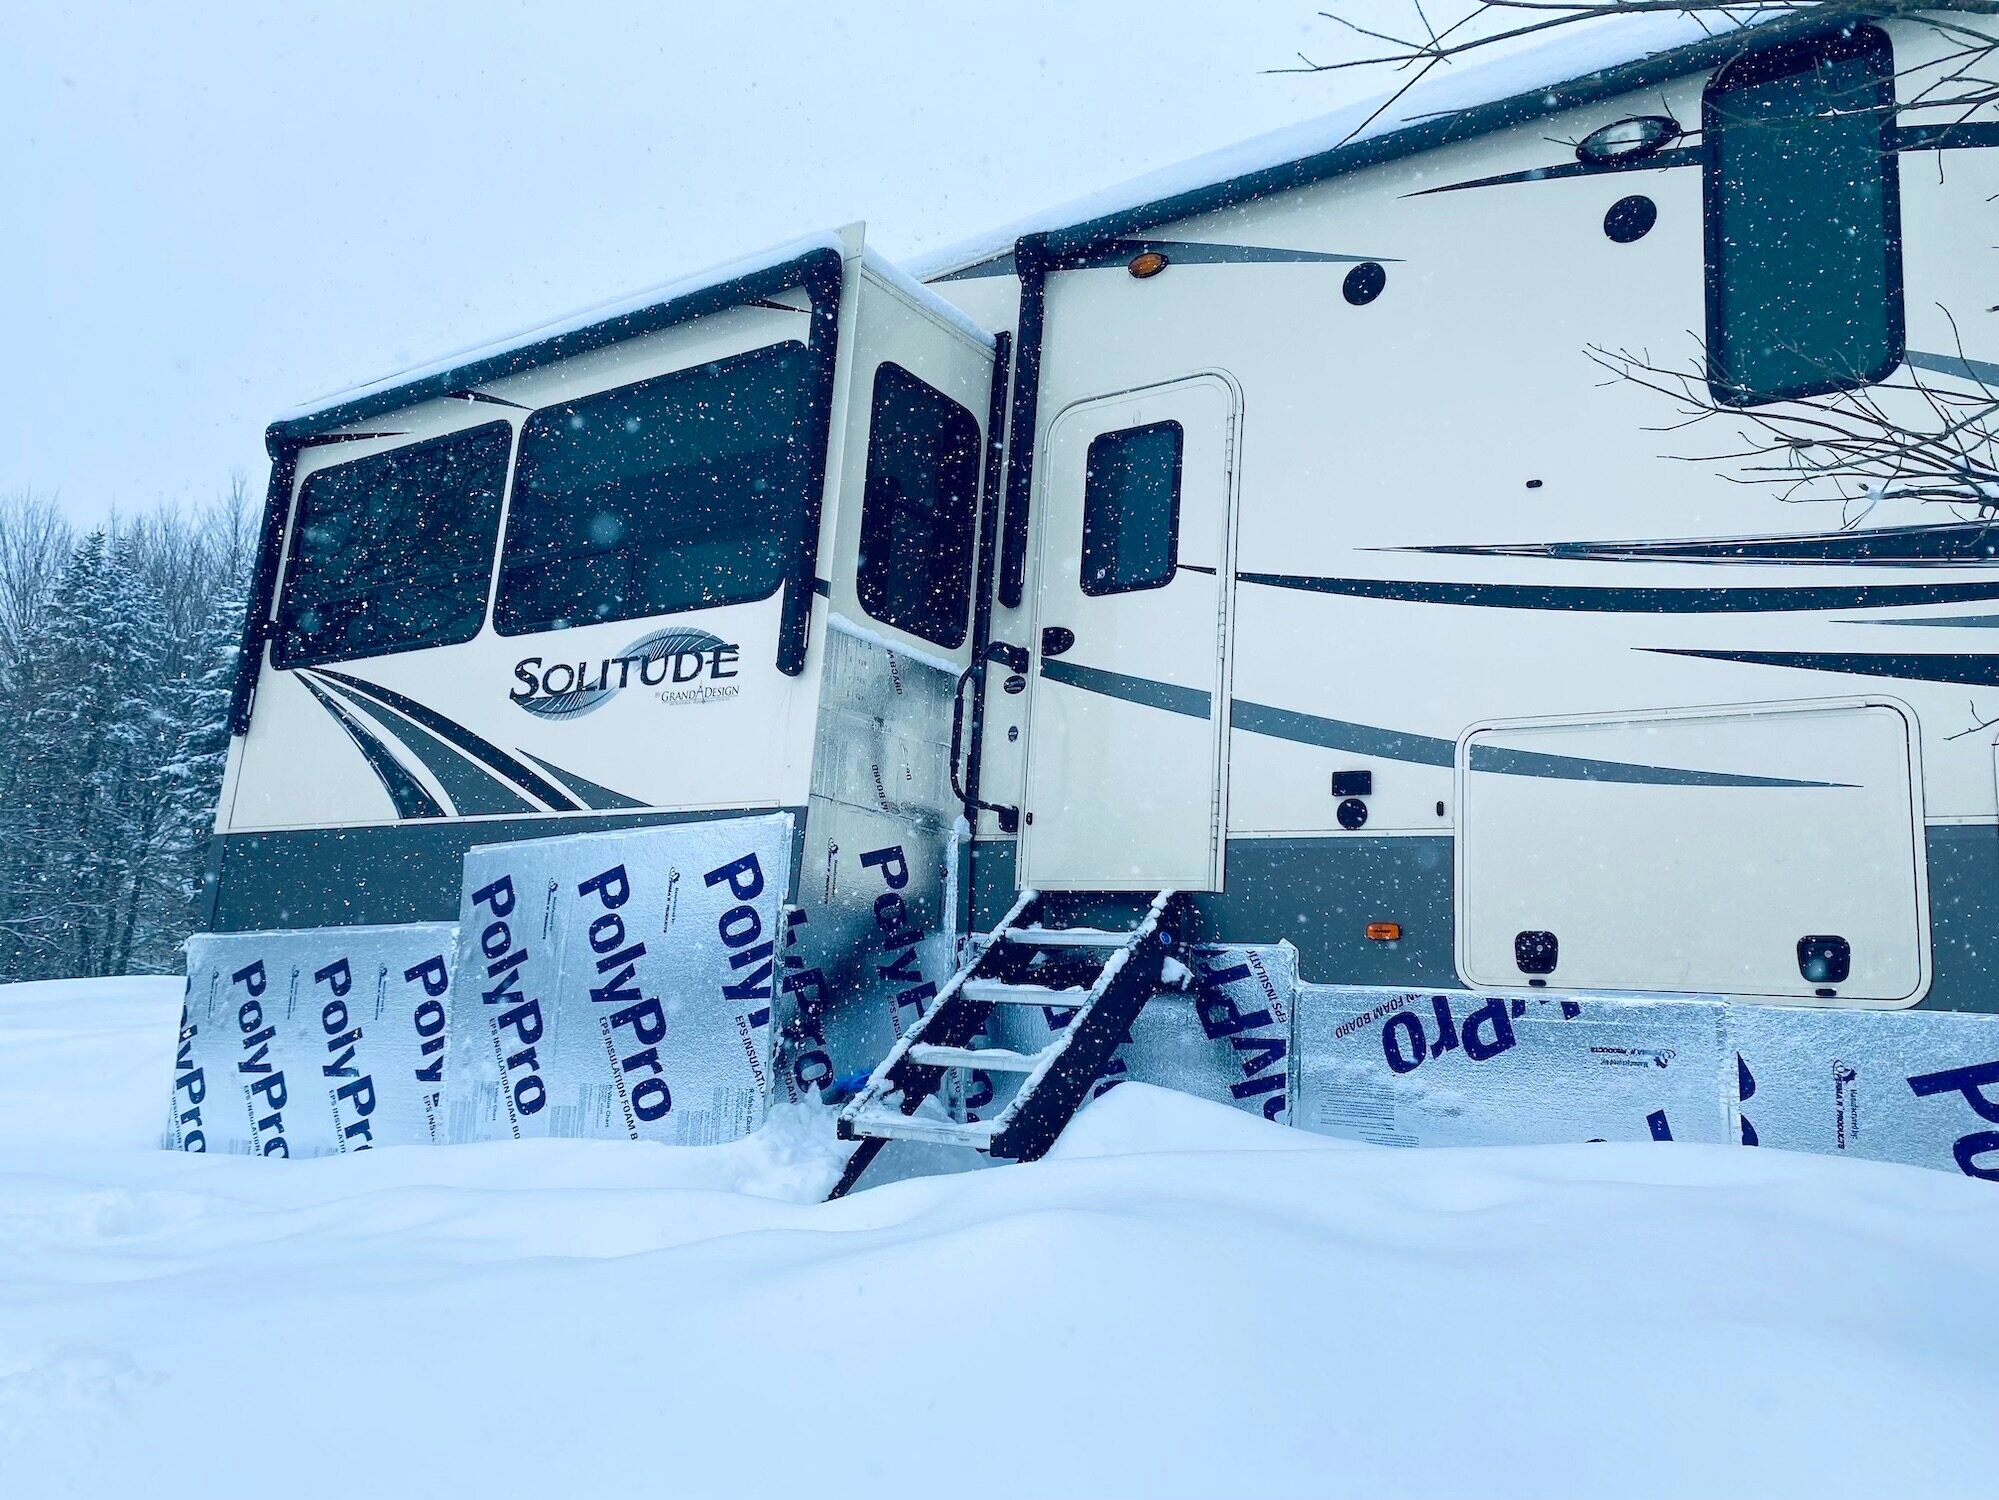
Supplies For DIY RV Skirting
As soon as we arrived in Pennsylvania in December, we knew RV skirting was a must, and off to Lowes, we went! Here is what we bought and/or needed for skirting our 5th wheel.
Note to self, we have a 34ft fifth wheel with 3 slide-outs and every RV will differ in the number of supplies needed.
9 - 1 inch 4x8 Foam Insulation Boards
2 – Rolls Foil Duct Tape
10 – Concrete blocks (or twice as many bricks)
Step-by-Step DIY RV Skirting
The first step was to lay concrete blocks or bricks around the bottom (inside and outside) so the wind wouldn’t push the insulation boards around.

We measured each section around the RV and cut the foam boards to fit, making sure to not block storage compartments or vents. Before attaching the foam boards to the RV, we would clean the area with alcohol and let it dry so the foil tape had a better chance of sticking.


Once we attached the foam boards and secured them to the RV with the foil tape, we placed more bricks and/or concrete blocks in the front to keep them more stable. Once we got in the groove of one person attaching the tape and the other measuring and cutting the next piece it went faster!

When it came to the slide-outs, we removed the fender that surrounds the tire and just placed them under the slide-out so it wouldn’t be so awkward getting a foam board around it.
What did we do about the sewer hookup? Since we only dump our tanks when full, we cut a hole that the sewer hose could fit into. It was easy to access when it was time to dump. We covered the hole with an extra piece and almost made it into a little door.

When finished, we did a walk-around to make sure there weren’t any open holes. The ones we found, we filled with leftover insulation and foil tape.
And that is pretty much it! We've had our skirting on all winter with no issues!
If we skirt again, what are some things we’d do differently?
Something we wish we had done beforehand was place items we weren’t going to use (extra storage) under the RV before sealing everything up. Things like our camping chairs and table that really won’t be needed in this bitter weather!
If you are interested in more information on how to winter RV camp, then check out this video! Stay warm!